
Ingredients
Equipment
Method
Day 1: The First Mix
- Combine 60 g (1⁄2 cup) of whole wheat flour + 60 g (1⁄4 cup) of warm water (around 85°F) in a large jar.
- Mix thoroughly with a fork until it's smooth and homogenous. Observe the consistency: it will be thick and pasty, like a stiff dough.
- Cover the jar loosely with plastic wrap, a reusable wax wrap, or a loose lid.
- Let your fledgling starter rest in a warm spot, ideally between 70-75°F (21-24°C), for 24 hours. Consistent temperature is incredibly important for kickstarting the fermentation process.
Day 2: First Observations
- Gently check the surface of your starter. Look for any tiny pinprick bubbles or a slight change in texture. Don't worry if you don’t see much; initial activity can be subtle and might have appeared and dissolved overnight.
- If you wish to oxygenate the mixture, you can give it a gentle stir once or twice with your rubber spatula. Otherwise, simply cover and let it rest for another 24 hours at 70-75°F.
Day 3: The First Discard & Feed
- Observe the texture: it should now be quite stretchy.
- Remove and discard half (approximately 60g) of your sourdough starter from the jar. You can eyeball this or use your digital scale. Discarding is crucial to manage the acidity and volume of your starter.
- To the remaining starter in the jar, add 60 g (1⁄2 cup) of all-purpose flour + 60 g (1/4 cup) of warm water.
- Mix with a fork until smooth, ensuring no dry spots. Use your rubber spatula to scrape down the sides of the jar; this prevents dried flour from molding.
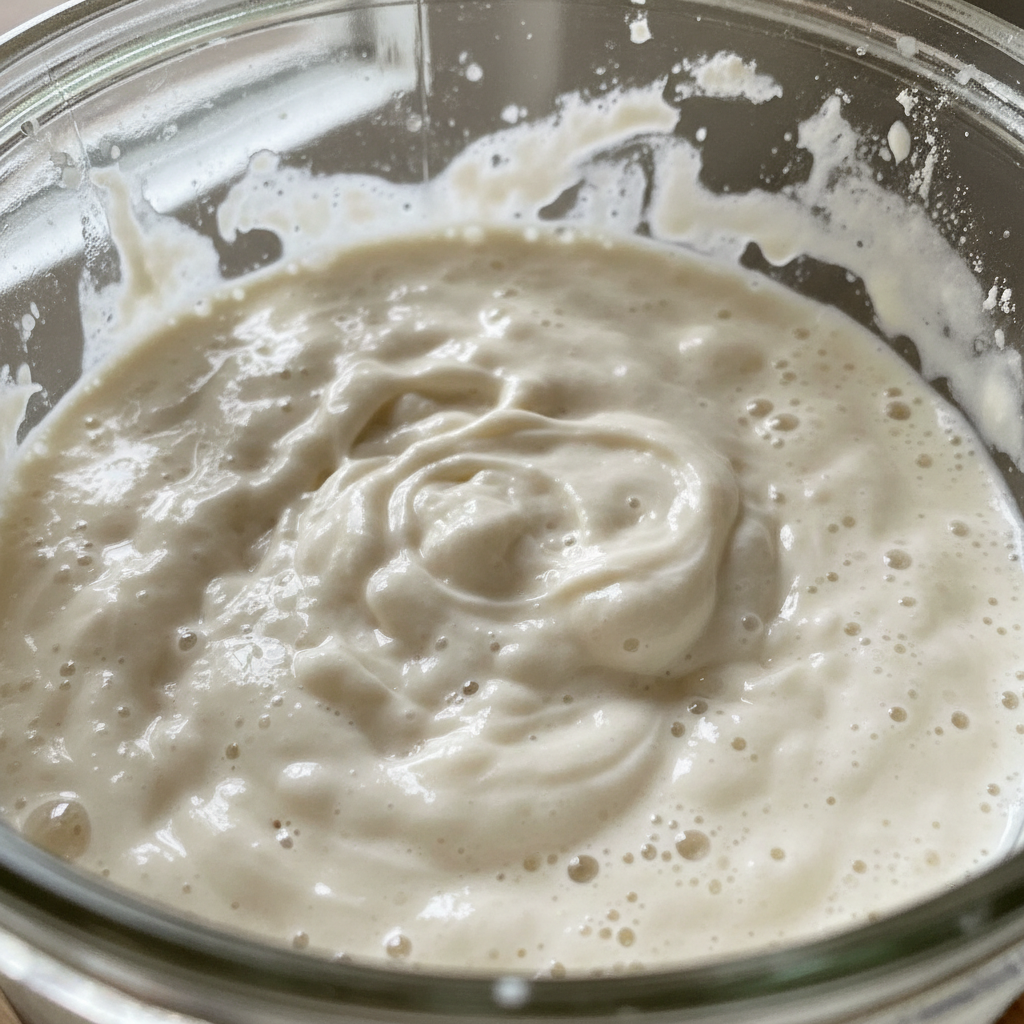
- Note the consistency now: it should resemble thick pancake batter or plain yogurt.
- Cover loosely and let rest in your warm spot, 70-75°F, for another 24 hours.
- You might start to notice more bubbles today, and the aroma might develop a very subtle, slightly fruity note.
Day 4: Navigating the 'False Start'
- Remove and discard half (approximately 90g) of the sourdough starter.
- Add 60 g (1⁄2 cup) of all-purpose flour + 60 g (1/4 cup) of warm water to the jar. Mix well and scrape down the sides.
- Cover loosely and let rest in a warm spot, 70-75°F, for 24 hours.
- Don't be alarmed if your starter seems less active today. This is very common and known as the 'false start'. Patience is key!
Day 5: Building Momentum
- Remove and discard half (approximately 105g) of the sourdough starter.
- Add 60 g (1⁄2 cup) of all-purpose flour + 60 g (1/4 cup) of warm water. Mix well and scrape down the sides.
- Cover loosely and let rest in a warm spot, 70-75°F, for 24 hours.
- You should be observing more pronounced bubbles, and your starter might be starting to visibly rise after feeding. The aroma should be shifting from wheaty to pleasantly sour. Use a rubber band or masking tape at the initial feeding line to track its rise time.
Day 6: Observing the Rise
- Remove and discard half (approximately 112g) of the sourdough starter.
- Add 60 g (1⁄2 cup) of all-purpose flour + 60 g (1/4 cup) of warm water. Mix well and scrape down the sides.
- Cover loosely and let rest in a warm spot, 70-75°F, for 24 hours.
- Look for your starter to be actively bubbling and potentially doubling in size within 4-8 hours after feeding. The texture when stirred should feel lighter and more airy.
Day 7: Approaching Readiness
- Remove and discard half (approximately 116.25g) of the sourdough starter.
- Add 60 g (1⁄2 cup) of all-purpose flour + 60 g (1/4 cup) of warm water. Mix well and scrape down the sides.
- Cover loosely and let rest in a warm spot, 70-75°F, for 24 hours.
- Remember that "equal parts" for feeding always refers to equal weights of starter, flour, and water, not equal volumes. A digital scale is your best friend here.
Day 8: Assessing Readiness & The Float Test
- Your sourdough starter should have consistently doubled in size (or even tripled) after feeding, with plenty of visible bubbles, both large and small, throughout the mixture and on the surface.
- When you stir it, the texture should be light, airy, spongy, and fluffy, not dense or pasty. It might even resemble the internal texture of roasted marshmallows.
- The smell should be pleasantly sour, yeasty, and slightly fruity, perhaps akin to roasted marshmallows or good beer. It should absolutely not smell stinky, vinegary, or like nail polish remover.
- If these conditions are met, congratulations! Your sourdough starter is active and ready to use for baking!
- As a final confirmation, perform the classic float test. Drop a small teaspoon of your bubbly, active starter into a glass of room-temperature water. If it floats, your starter is potent and ready. If it sinks, it needs more time to develop strength.
- If your starter isn't quite ready by Day 8, don't despair! Continue feeding it daily. Consider these 'Quick Boost' tips: Ensure consistent warmth (aim for 70-75°F, or 80-85°F water bath), add a nutrient boost (10-20g whole wheat or rye flour), and check hydration (add extra 5-10g water if too stiff).
- Once active, you can transfer your sourdough starter to a clean jar if desired, and feel free to give it a name – many bakers do!
Nutrition
Notes
Patience and observation are key. Maintain consistent warm temperatures (70-75°F) and use a digital scale for accurate measurements. Track growth with a rubber band. Hooch signals hunger; don't panic. Avoid bleached flour and sealing the lid tightly. The 'false start' is normal; consistent feeding can revive a sluggish starter. Nutrition information is estimated based on common ingredients and serving sizes and may vary.