
Ingredients
Equipment
Method
Phase 1: Sautéing Aromatics & Building the Base
- Begin by heating the olive oil in a large pot or a sturdy Dutch oven over medium-high heat. As the oil shimmers, add the diced yellow onion and sauté it gently for about 4 minutes, stirring occasionally, until it softens and turns translucent, releasing its sweet aroma.
- Next, stir in the finely minced garlic and continue to sauté for just 30 seconds longer. You’ll notice its pungent, inviting fragrance quickly bloom.
- At this point, it’s crucial to add the dry spices: cumin, paprika (smoked paprika, if following my twist!), dried oregano, ground coriander, and cayenne pepper. Stir them into the sautéed aromatics for about 30-60 seconds, allowing them to lightly toast. This brief 'toasting' step unlocks their full aroma and flavor, building a deeper foundation for your chili.
- Pour in the low-sodium chicken broth and add the diced green chilies. Season generously with salt and freshly ground black pepper to taste. Bring the mixture just to a gentle boil, then reduce the heat to medium-low and let it simmer for 15 minutes. This allows the flavors to meld beautifully, with the fire-roasted chilies infusing the broth with their smoky essence.
Phase 2: Achieving Creamy Texture & Incorporating Beans
- While the chili simmers, drain and thoroughly rinse both cans of cannellini beans in a fine mesh strainer or colander. Measure out 1 cup of the rinsed beans and set the remaining whole beans aside. Transfer that 1 cup of beans to a food processor along with 1/4 cup of the broth directly from the simmering soup. Purée until the mixture is nearly smooth. This simple technique of pureeing a portion of the beans is my secret for achieving that luscious, creamy texture without needing heavy cream or flour.
Phase 3: Finishing & Serving
- Add the cubed Neufchatel cheese (or light cream cheese), the reserved whole cannellini beans, and the frozen or fresh corn, along with the pureed bean mixture, to the soup. Stir everything thoroughly until the cheese is completely melted and smoothly incorporated, and the chili thickens to a rich consistency. Continue to simmer for another 5-10 minutes.
- Finally, stir in the shredded cooked rotisserie or leftover chicken, the bright fresh lime juice, and the fragrant chopped fresh cilantro. Stir gently until everything is well combined and heated through. Remember to add that fresh lime juice at the very end for optimal brightness and a burst of flavor.
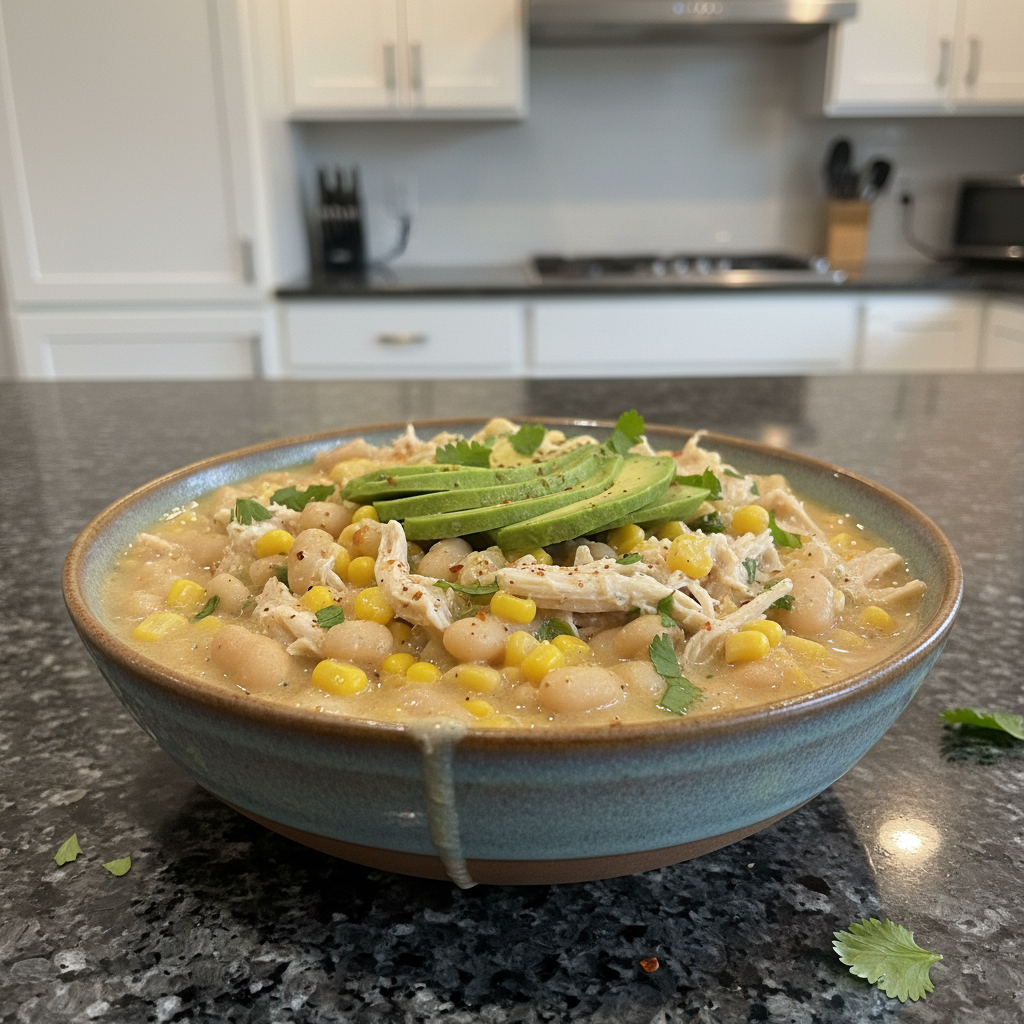
- Ladle your glorious white chili into bowls. Serve it hot, garnished with optional toppings like shredded Monterrey Jack cheese, more fresh cilantro, creamy sliced avocado, and crispy tortilla chips or strips if desired. For an extra touch of richness, a swirl of full-fat coconut milk or half-and-half can be added just before serving.
Nutrition
Notes
For best results, use pre-cooked chicken and fresh lime juice. Toasting spices enhances flavor. This chili stores well in the refrigerator for 3-4 days and freezes for up to 3 months, making it great for meal prep. Serve with optional toppings like Monterrey Jack cheese, avocado, and tortilla chips. Nutrition information is estimated based on common ingredients and serving sizes and may vary.