

A truly great chocolate chip cookie isn’t just a dessert; it’s a hug from your kitchen, a nostalgic whisper of childhood, and the ultimate comfort food. While countless recipes promise perfection, many of us still chase that elusive bakery-style chew, the perfect balance of crisp edge and soft, melty center, and a depth of flavor that lingers long after the last bite. My friends, if you’ve been on that quest, you’ve come to the right place. Today, we’re not just baking a chocolate chip cookies recipe; we’re mastering it, unlocking professional secrets that will elevate your cookie game forever.
Why You’ll Love This Recipe
The Brown Butter Magic: Forget plain melted butter. This recipe starts by browning the butter, transforming it into a rich, nutty foundation that infuses every single bite with an unparalleled depth and aroma, thanks to the wonderful Maillard reaction.
The Cold-Cure Difference: We’re taking a page from professional bakers with an essential 24-hour chilling period. This isn’t just about preventing spread; it’s a scientific secret that allows the flour to fully hydrate and enzymes to break down starches, leading to an incredibly complex, caramel-like flavor and a wonderfully chewy texture.
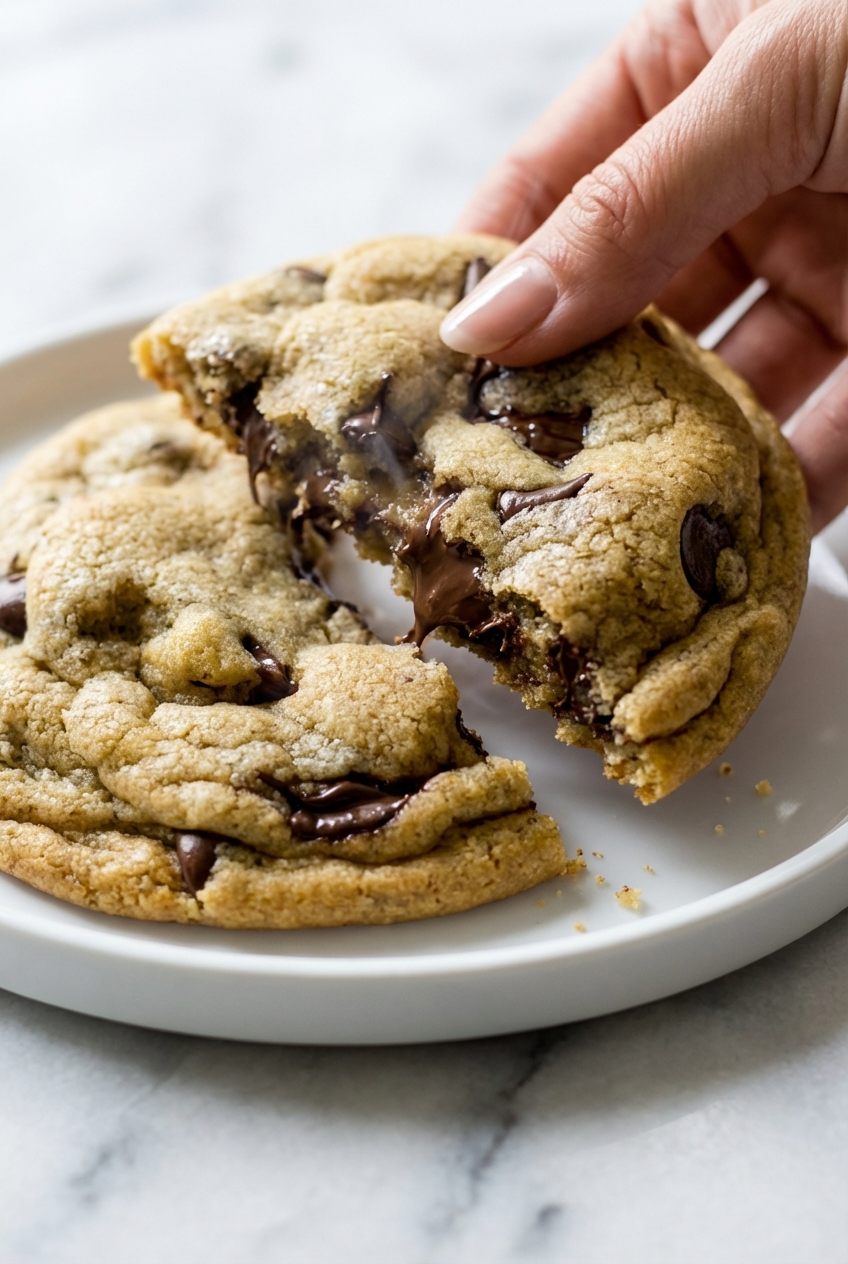
Simply Irresistible Texture: Imagine a cookie that’s thick, ultra-soft, and buttery, with a dense, chewy interior and those delightful pockets of melty chocolate. This method delivers precisely that, ensuring every cookie is a symphony of perfect textures.
Ingredients Needed
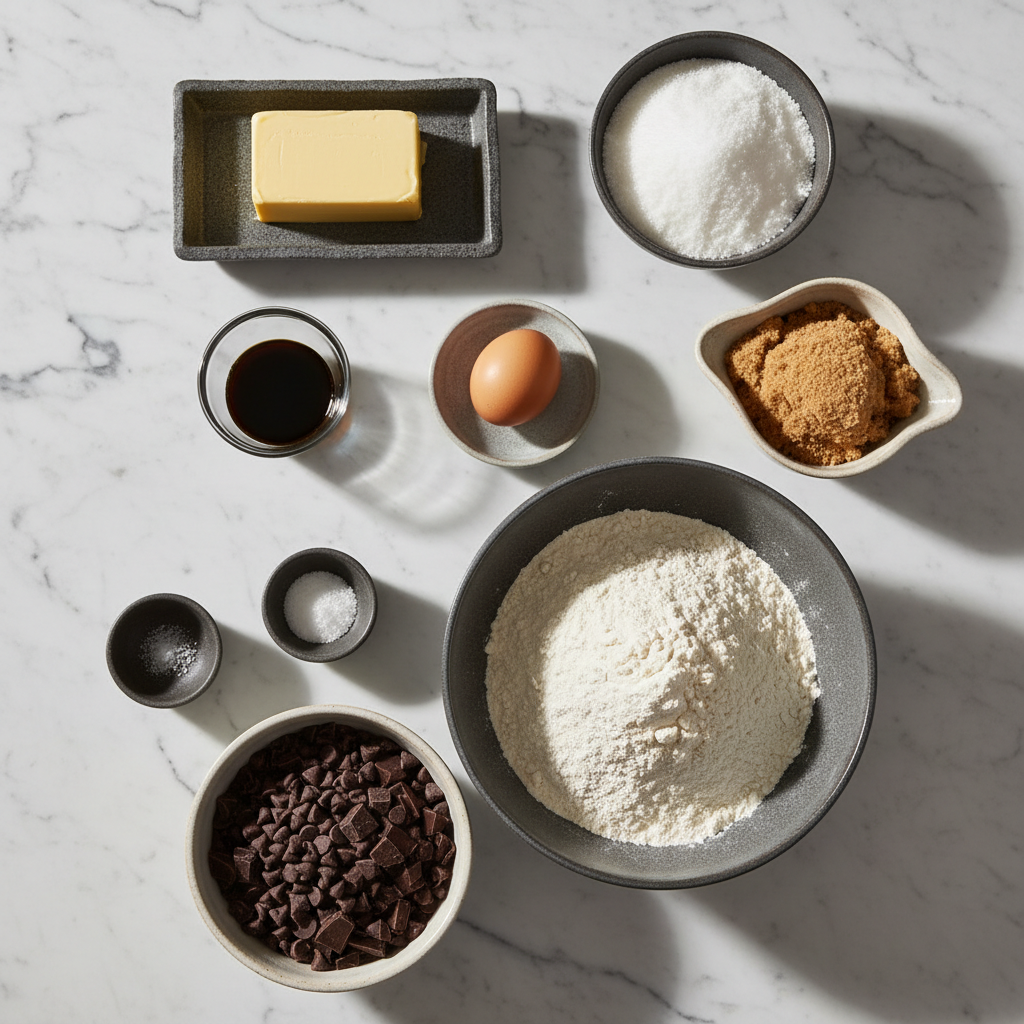
Every masterpiece begins with quality ingredients. Here’s what you’ll need to create the ultimate chocolate chip cookies, each playing a vital role in achieving that perfect texture and flavor.
Ingredients
- 8 tablespoons salted butter
- 1/2 cup white sugar
- 1/4 cup packed light brown sugar
- 1 teaspoon vanilla
- 1 egg
- 1 1/2 cups all purpose flour
- 1/2 teaspoon baking soda
- 1/4 teaspoon salt
- 3/4 cup chocolate chips
Ingredient Notes & Substitutions
Salted Butter: I specifically call for salted butter here. It eliminates the need for an extra pinch of salt in the dough, balancing the sweetness and enhancing all the flavors. If you only have unsalted, you can use it, but add an extra 1/4 teaspoon of fine sea salt to the dry ingredients.
Chocolate Chips: While standard semi-sweet chocolate chips work, for truly decadent cookies with beautiful “pools” of molten chocolate, I highly recommend using a high-quality chocolate bar (around 60-70% cacao) that you hand-chop into varying sizes. This creates a wonderful texture contrast.
Light Brown Sugar: This ingredient is absolutely essential for the classic chewy texture we’re aiming for. Its molasses content contributes moisture and that lovely caramel note, setting these apart from cookies made with only white sugar.
How to Make Chocolate Chip Cookies
The Brown Butter Foundation
- To begin, grab a saucepan and melt your 8 tablespoons of salted butter over medium heat. Keep a close eye on it, stirring occasionally, as it transforms from foamy to clear, then develops little brown bits at the bottom. Once it smells wonderfully nutty and turns a rich golden-brown hue, remove it from the heat immediately to prevent burning. Pour it into a large mixing bowl and allow it to cool slightly, about 10-15 minutes, until it’s warm but not hot.
Crafting the Dough
- Once your browned butter is just warm, add the 1/2 cup white sugar and 1/4 cup packed light brown sugar to the bowl. Using a stand mixer fitted with the paddle attachment or electric beaters, cream them together until the mixture is light, fluffy, and looks cohesive. Next, beat in the 1 teaspoon vanilla and 1 egg. Mix on low speed for just 10-15 seconds, just until everything is incorporated. Overmixing the egg can introduce too much air, leading to a cake-like, rather than chewy, cookie.
- In a separate bowl, whisk together the 1 1/2 cups all purpose flour, 1/2 teaspoon baking soda, and 1/4 teaspoon salt. Gradually add these dry ingredients to the wet mixture, mixing on low speed until crumbles start to form. At this point, I like to switch to using my hands; gently press the crumbles together until they form a single, manageable ball of dough. It should feel pliable and just right—not too wet, not too dry. Finally, fold in the 3/4 cup chocolate chips with your hands until they’re evenly distributed throughout the dough.
The Cold Cure and Baking
- Now comes the essential step for truly superior cookies: the cold cure. Wrap your dough tightly in plastic wrap or place it in an airtight container. Refrigerate it for at least 3-4 hours, but for the absolute best flavor and texture, let it chill for a full 24 hours. This resting period allows the flavors to deepen and the dough to fully hydrate, preventing excessive spreading during baking.
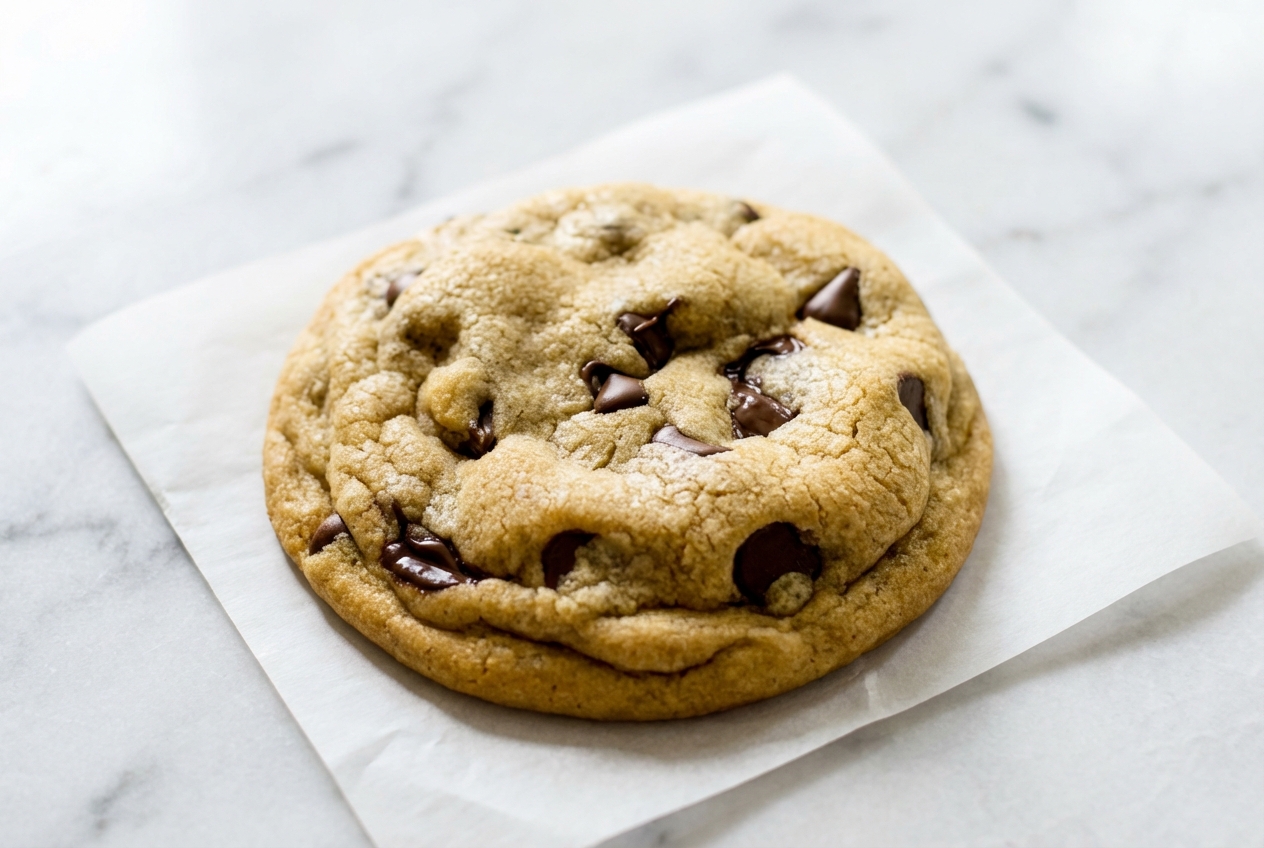
- When you’re ready to bake, preheat your oven to 350°F (175°C). Roll the chilled dough into 12 large, uniform balls and place them a few inches apart on a baking sheet. Bake for 9-11 minutes. Don’t be tempted to overbake! The cookies should look puffy and dry around the edges, but their centers should appear pale and almost underdone. Trust me, this is the secret to their soft, chewy core.
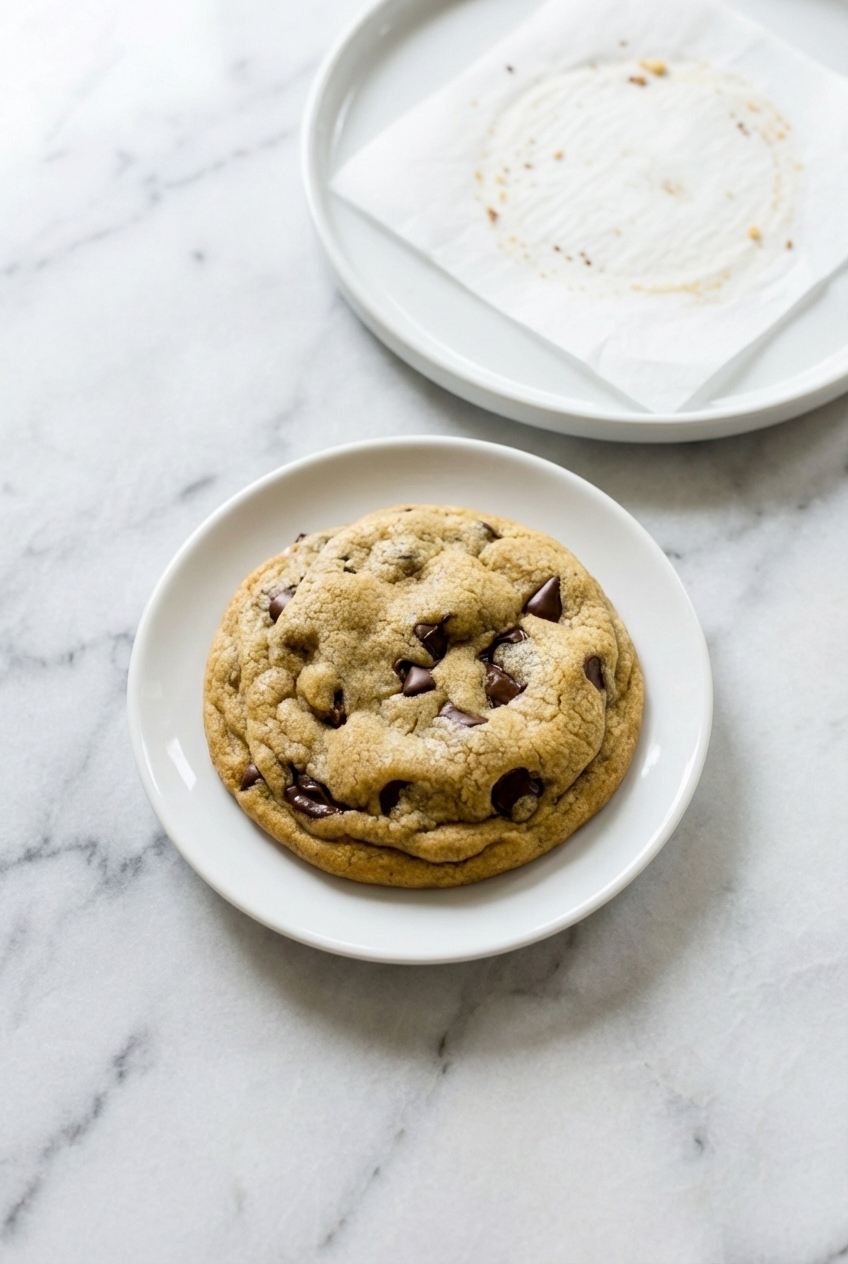
- The carryover cook is vital for setting their final form. Once out of the oven, resist the urge to move them immediately. Let the cookies cool on the hot baking pan for a good 30 minutes. During this time, they will gradually sink down and transform into those dense, buttery, perfectly soft cookies we crave.
Secrets for Cookie Perfection
Unlocking the ultimate chocolate chip cookie involves understanding a bit of the science behind the magic. Here are a few deeper insights from my kitchen to yours.
Butter Science: The way you prepare your butter dramatically impacts the cookie’s final texture. Simply melting butter keeps its water content, making for thinner, crispier cookies. Creaming butter incorporates air, leading to a lighter, cakier result. Our browned butter method, however, removes some of that water while creating an intense, nutty flavor through the Maillard reaction, which is a complex chemical process responsible for browning and flavor development in cooked foods. For a deeper dive into this fascinating process, you can explore resources like those from Modernist Cuisine.
The Windowpane Test for Dough Hydration: For perfectly chewy cookies, dough hydration is key. As you mix the flour, try a “windowpane test”: take a small piece of dough and gently stretch it. If it stretches thin enough to be somewhat translucent before tearing, your flour is likely well-hydrated, and the gluten is properly developed for great elasticity. This ensures your cookies have the right structure.
High-Altitude Adjustments: If you live in a high-altitude area, baking can be a bit tricky. The lower atmospheric pressure causes cookies to spread more and rise faster. To counteract this, I recommend increasing your oven temperature to 375°F (190°C). This higher heat helps set the edges of the cookies more quickly, preventing excessive spreading and maintaining their lovely, thick shape.
Storage Science: Ever wonder why your cookies lose their softness so quickly? It’s often due to moisture loss. A clever trick to keep them wonderfully soft for days is to place a slice of white bread in your airtight cookie container. The cookies will absorb moisture from the bread, staying fresh and tender. This simple hack truly works wonders!
Pro Tips & Troubleshooting
Pro Tips
- Spoon and Level Your Flour: This might seem minor, but it makes a huge difference! Scooping flour directly with a measuring cup can pack in too much, leading to dense, dry, and puffy cookies. Instead, use a spoon to gently scoop flour into your measuring cup, then level it off with the back of a knife. This ensures you use the correct amount, preventing overly floury cookies. For more on this crucial technique, you can learn about the spoon-and-level method from baking experts.
- Room Temperature Sheets: Always ensure your baking sheets are at room temperature, or even slightly cool, before placing new cookie dough on them. Putting dough on a warm sheet will cause the butter to melt prematurely, leading to flat, overly spread-out cookies.
- The Salt Finish: For an extra touch of gourmet magic, sprinkle a tiny pinch of flaky sea salt (like Maldon) over the cookies immediately after they come out of the oven. This little burst of salt enhances the chocolate flavor and perfectly balances the sweetness.
Common Mistakes
- Overbeating the Egg: As mentioned in the instructions, beating the egg mixture for too long can introduce too much air, which can make your cookies stiff and tough rather than wonderfully dense and chewy. A quick mix until just combined is all you need.
- Overbaking: This is perhaps the most common culprit for dry, hard cookies. If your cookies look “done” in the oven, they’re likely already overbaked. Aim for cookies that are pale in the center and just barely golden on the edges when you pull them out. They will continue to cook slightly on the hot pan.
Serving & Storage
Serving Ideas
- There’s nothing quite like a warm chocolate chip cookie straight from the oven, especially when paired with a tall, cold glass of whole milk.
- Elevate your dessert by using these cookies as the base for an incredible homemade vanilla bean ice cream sandwich.
- For a truly decadent treat, crumble a warm cookie over a rich chocolate mousse or a scoop of your favorite ice cream. These cookies also make a delightful addition to any dessert platter, perhaps alongside a batch of festive chocolate crinkle cookies.
Storage & Make-Ahead
These cookies are fantastic for make-ahead convenience. You can roll the dough into balls and freeze them on a baking sheet until solid. Once frozen, transfer them to a freezer-safe bag for up to two months. When a craving strikes, simply bake them straight from the freezer, adding an extra minute or two to the baking time. For other delightful make-ahead options, consider preparing a batch of red velvet cookies alongside them.
Once baked, store your chocolate chip cookies in an airtight container at room temperature. With the bread slice trick mentioned earlier, they will stay wonderfully soft for up to five days. You can also freeze baked cookies for longer storage; just thaw them at room temperature or warm them gently in the oven for a “fresh-baked” experience.
Chocolate Chip Cookies Recipe
Ingredients
Equipment
Method
- Melt 8 tablespoons of salted butter in a saucepan over medium heat, stirring occasionally, until it transforms from foamy to golden-brown with a nutty aroma. Remove from heat immediately and pour into a large mixing bowl to cool for 10 to 15 minutes.
- Add white sugar and light brown sugar to the warm butter. Use a stand mixer or electric beaters to cream the mixture until light and fluffy. Beat in the vanilla and egg on low speed for only 10 to 15 seconds to avoid introducing too much air.
- In a separate bowl, whisk together the flour, baking soda, and salt. Gradually add the dry ingredients to the wet mixture on low speed until crumbles form. Use your hands to press the dough into a single ball and fold in the chocolate chips.
- Wrap the dough tightly in plastic wrap or an airtight container and refrigerate for at least 3 to 4 hours, though a full 24-hour chill is recommended for maximum flavor development.
- Preheat your oven to 350°F (175°C). Roll the chilled dough into 12 large, uniform balls and place them several inches apart on a baking sheet. Bake for 9 to 11 minutes until the edges are dry but the centers remain pale and soft.
- Let the cookies rest on the hot baking pan for 30 minutes. This carryover cooking time is essential for the cookies to sink down and achieve their final buttery, chewy texture.
Nutrition
Notes
Tried this recipe?
Let us know how it was!Conclusion
There you have it, my friends: the blueprint for the ultimate chocolate chip cookies recipe. By embracing the simple yet transformative techniques of browning your butter and giving your dough the precious gift of a cold cure, you move beyond the ordinary to create a gourmet treat. I promise you, the 24-hour wait is worth every single second for that unparalleled depth of flavor and perfect texture. Go ahead, fill your kitchen with that irresistible aroma and rediscover the joy of a truly exceptional cookie!