

There’s nothing quite like a hearty bowl of homemade chili to warm the soul, especially when the weather turns cool or game day rolls around. But let’s be honest, we’ve all had those moments where our chili felt… good, but not *great*. Today, I’m sharing my absolute best beef chili recipe, one that promises truly deep, robust flavor that will make you rethink everything you thought you knew about making chili. It’s a reliable, delicious recipe perfect for home cooks of all skill levels, packed with valuable insights and a unique technique that guarantees an unparalleled taste experience.
Why You’ll Love This Recipe
What makes this beef chili recipe stand out in a sea of good intentions? It’s a simple, yet profoundly effective, flavor amplification twist that I swear by in my own kitchen. After browning the ground beef and aromatics, we take a crucial step: we bloom the remaining chili powder, cumin, and tomato paste for 2-3 minutes before any liquids are added.
The Science of Flavor: Why does this small step make such a big difference? When you heat spices like chili powder and cumin in oil or rendered fat, it releases their fat-soluble flavor compounds, intensifying their aroma and taste exponentially. This process, known as “blooming,” awakens the dormant spices. Simultaneously, sautéing the tomato paste allows its natural sugars to caramelize through the Maillard reaction, developing richer, more complex umami notes. This creates an incredibly deep, savory foundation for the entire chili, setting it apart from any other.
- Unparalleled Flavor Depth: This method delivers a robust, rich, and truly “beefy” flavor profile that goes beyond your average chili, hitting all the right savory notes.
- Hearty & Comforting: My chili is wonderfully hearty and incredibly comforting, perfect for a cozy night in or a lively gathering.
- Versatile & Practical: Whether you need a satisfying game day food, a quick weeknight meal, or a dish for meal prep, this recipe fits the bill perfectly.
- Family-Friendly: It’s easy enough for a casual family dinner yet impressive enough to serve to guests.
Ingredients Needed

Gathering your ingredients is the first step to any great dish. Here’s exactly what you’ll need for this phenomenal beef chili recipe:
- 2 pounds lean ground beef
- 1 onion (diced)
- 1 jalapeño (seeded and finely diced)
- 4 cloves garlic (minced)
- 2 ½ tablespoons chili powder (divided, or to taste)
- 1 teaspoon cumin
- 1 green bell pepper (seeded and diced)
- 14.5 ounces crushed tomatoes (1 can)
- 19 ounces canned red kidney beans (drained and rinsed)
- 14.5 ounces canned diced tomatoes (with juices)
- 1 ½ cups beef broth
- 1 cup beer
- 1 tablespoon tomato paste
- 1 tablespoon brown sugar (optional)
- salt and black pepper (to taste)
Ingredient Notes & Substitutions
Every ingredient plays a role, but sometimes you need to adapt. Here are my insights on some key components:
- Beef: I prefer lean ground beef for this recipe as it provides plenty of flavor without making the chili greasy. If you use a higher fat content ground beef, make sure to thoroughly drain any fat after browning to avoid a greasy chili. Different fat percentages can impact the final texture and richness, so choose wisely for your preference.
- Jalapeño: Fresh is always best for that vibrant kick, but if fresh jalapeño isn’t available, you can use jarred. Just be aware that jarred versions are often pickled and may have a slightly different flavor and heat profile. Adjust to your taste!
- Beer: A light lager or amber ale works wonderfully to add depth without overpowering the other flavors. If you prefer a non-alcoholic option, simply substitute with an equal amount of additional beef broth or even water.
- Beans: We use canned red kidney beans here. It’s crucial to rinse and drain them well to remove excess sodium and starches, ensuring a cleaner flavor. If you find “chili beans” with sauce, those typically don’t need rinsing as the sauce adds to the flavor. You can also experiment with other beans like pinto beans or black beans.
- Chili Powder & Cumin: Chili powder is actually a blend, typically containing dried chiles, cumin, oregano, garlic powder, and sometimes cloves. It’s the backbone of chili flavor! Cumin, on its own, adds a crucial earthy warmth that complements the beef beautifully.
- Tomatoes: The combination of crushed tomatoes and diced tomatoes gives this chili both a smooth consistency and nice textural chunks. For an extra flavor boost, try fire-roasted diced tomatoes.

How to Make Best Beef Chili
Let’s get cooking! Follow these steps closely to achieve the most flavorful beef chili recipe you’ve ever made.
Prep the Beef
First, in a large bowl, combine the ground beef with 1 ½ tablespoons of the chili powder. Mixing the seasonings into the meat early ensures that every morsel is infused with flavor, not just coated on the surface. This little step makes a huge difference in the overall depth of your chili.
Brown & Build Flavor
Next, grab a large pot or, my personal favorite, a sturdy Dutch oven for its excellent heat distribution. Over medium-high heat, brown the seasoned ground beef, diced onion, diced jalapeño, and minced garlic. It’s important not to overcrowd your pot; work in batches if necessary, allowing the meat to truly brown and develop that rich, savory crust from the Maillard reaction. Once browned, make sure to drain any fat from the pot. Skipping this step is a common mistake that can lead to a greasy chili, detracting from its vibrant flavors.
The Flavor Amplification Twist
Now for the secret weapon! Immediately after browning the meat and aromatics and draining the fat, reduce the heat to medium. Add the remaining 1 tablespoon of chili powder, 1 teaspoon of cumin, and 1 tablespoon of tomato paste to the pot. Stir constantly for 2-3 minutes, allowing these ingredients to bloom. You’ll notice the spices becoming wonderfully fragrant, and the tomato paste will deepen in color as its sugars caramelize, building incredible umami and a rich flavor base. This step is non-negotiable for that truly deep flavor!
Simmer to Perfection
Once your spices are fragrant and the tomato paste has bloomed, add the remaining ingredients: the can of crushed tomatoes, the can of diced tomatoes with their juices, the drained and rinsed red kidney beans, beef broth, beer, brown sugar (if using), salt, and black pepper to taste. Bring everything to a gentle boil, then immediately reduce heat and simmer uncovered for 45-60 minutes. A perfect simmer is a gentle bubble, just enough to see movement on the surface and around the edges of the pot, allowing the flavors to meld and the chili to naturally thicken. Simmering uncovered is key for this natural thickening process, as moisture evaporates and concentrates the flavor.
Serve & Garnish
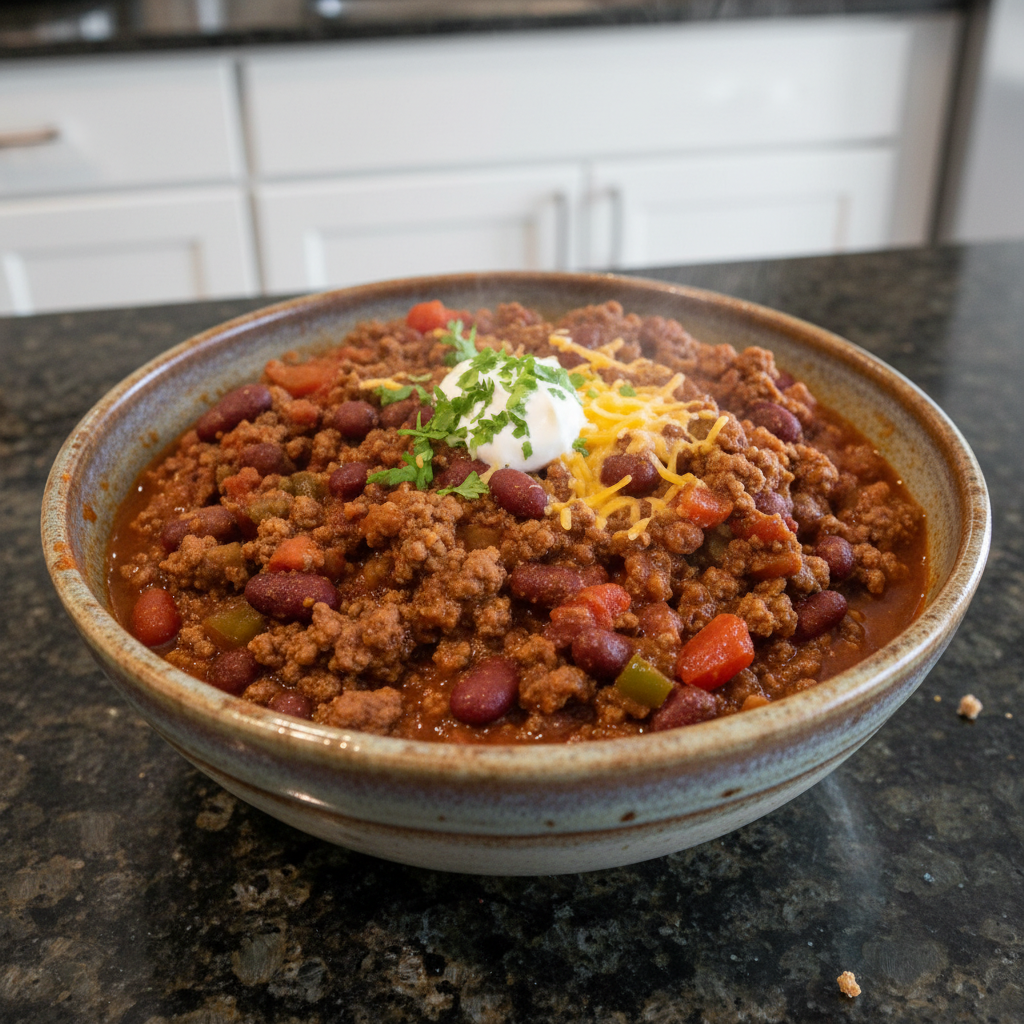
Once your chili has reached your desired consistency – wonderfully thick, chunky, and hearty with an incredibly flavorful, robust aroma – it’s ready to serve! Ladle generous portions into bowls and top with your favorite garnishes like shredded cheddar cheese, fresh chopped green onions, and bright cilantro.
Beyond the Bowl: Exploring Chili Styles
While this beef chili recipe is a classic, hearty American staple, the world of chili is vast and wonderfully diverse! It’s fascinating to see how different regions put their own spin on this beloved comfort food.
- Cincinnati Chili: This unique style is known for its distinct spiced, slightly sweeter flavor profile, often incorporating cinnamon and cocoa. Traditionally, it’s served over spaghetti in various “ways” (e.g., a “3-way” includes cheese, a “4-way” adds onions, a “5-way” includes beans).
- Texas Red: A true Texas Red is all about the meat and chiles, famously lacking beans. It’s more of a rich, thick stew, intensely flavorful and often made with larger chunks of beef rather than ground meat.
- White Chicken Chili: Moving away from beef, this lighter chili typically features ground chicken or ground turkey, white beans (like cannellini or great northern), and often uses a creamier, lighter broth base, sometimes with green chiles and corn.
Our recipe today firmly plants itself in the tradition of a classic, rich, chunky, and satisfying beef chili, a truly delicious and comforting meal for any occasion.
Is This Beef Chili Recipe Healthy? Nutritional Insights
Many readers often ask, “Is this chili recipe healthy?” And I’m happy to say, yes, beef chili can absolutely be a healthy meal option! It’s a fantastic source of lean protein from the ground beef and a significant amount of dietary fiber from the red kidney beans and vegetables like onion, bell pepper, and jalapeño. This combination helps keep you feeling full and satisfied. You can learn more about the nutritional benefits of chili.
Here are a few tips to make your chili even healthier, while still enjoying all that delicious flavor:
- Choose Leaner Beef: Opt for extra lean ground beef to further reduce total fat and saturated fat content.
- Control Sodium: Look for low-sodium versions of beef broth and canned tomatoes.
- Boost Veggies: Feel free to increase the amount of green bell pepper, onion, or add other vegetables like corn or zucchini for more nutrients and fiber.
- Mindful Toppings: While toppings are delicious, be mindful of high-calorie options. Enjoy sour cream in moderation, and load up on fresh ingredients like plenty of cilantro, diced green onions, and fresh avocado.
- Portion Sizes: Be aware of your portion sizes, especially when considering calories and carbohydrates, to ensure it fits into your balanced diet.
Pro Tips & Troubleshooting
Even the most experienced chefs can learn new tricks! Here are my favorite pro tips and common pitfalls to avoid for your ultimate chili success.
Pro Tips
- Season Early, Season Right: Don’t underestimate the power of mixing chili powder into your raw ground beef before browning. This ensures the seasoning penetrates deeply, leading to a much richer, integrated flavor.
- Don’t Fear the Bloom: This is my signature tip! Blooming the spices and tomato paste for a few minutes before adding liquids truly amplifies the flavor. It unlocks the full potential of your spices, creating incredible umami and truly flavorful chili.
- Rinse Those Beans: Always rinse canned red kidney beans (or other beans) thoroughly to remove excess sodium and starches. This leads to a cleaner, fresher taste in your chili.
- Slow Simmer, Natural Thickening: For the best texture and deepest flavor, allow your chili to simmer uncovered. This lets the liquid naturally reduce and thicken, concentrating all those delicious flavors. Good things take time!
- The Dutch Oven Advantage: If you have one, use a Dutch oven for your beef chili. Its heavy bottom and even heat distribution are perfect for slow simmering and developing superior flavor.
- Taste and Adjust: Always taste your chili throughout the simmering process. Adjust salt, pepper, and additional chili powder to your personal preference before serving.
Common Mistakes to Avoid
- Skipping Early Seasoning: Not mixing chili powder into the ground beef at the start is a missed opportunity for truly integrated flavor.
- Greasy Chili: Failing to drain fat from your ground meat after browning is a common culprit for an unpleasantly greasy chili that dilutes its flavor.
- Watery Chili: Overcrowding the pot during browning can steam the meat instead of searing it. Also, not simmering long enough, or simmering covered, can result in a thin, soupy consistency.
- Bland Flavor: This is where my twist comes in! Not blooming the spices (chili powder, cumin) and tomato paste is a key reason many chilies lack depth.
- Overly Spicy Chili: If you’re sensitive to heat, forgetting to seed the jalapeño can make your chili too spicy. Always taste and adjust heat, avoiding adding too much hot sauce or chili flakes too early.
Serving & Storage
A great chili is a versatile dish, perfect for sharing and equally wonderful as leftovers.
Serving Ideas
Presentation and accompaniments can elevate your chili experience. Here are my go-to suggestions:
- Classic & Creative Toppings:
- Shredded cheddar cheese or Monterey Jack
- Freshly chopped green onions and bright cilantro
- A dollop of cool sour cream
- Diced red onion or creamy avocado
- A squeeze of fresh lime wedges for a zesty finish
- Crunchy croutons or salty tortilla chips for texture
- A dash of your favorite hot sauce or a sprinkle of chili flakes for extra heat
- Perfect Sides & Pairings:
- Warm, flaky cornbread, fluffy buttermilk biscuits, or simple buttered toast for dipping.
- Serve over fluffy white rice to stretch the meal and soak up all that delicious sauce.
- Consider a side of seasoned pinto beans or black beans for extra fiber and flavor.
Storage and Make-Ahead
Chili is a fantastic meal prep candidate, as its flavors often deepen and improve the next day!
- Refrigeration: Allow the chili to cool completely before transferring it to an airtight container. Store in the refrigerator for up to 3-4 days.
- Freezing: This beef chili recipe freezes beautifully! Once completely cooled, transfer it to airtight, freezer-safe containers or heavy-duty freezer bags. Lay bags flat to freeze for easy stacking. It will keep well in the freezer for up to 3 months.
- Thawing & Reheating: To defrost, simply transfer the frozen chili to the refrigerator overnight. For reheating, gently warm it on the stovetop over medium-low heat, stirring occasionally, until heated through. You can also reheat individual portions in the microwave in short bursts, stirring between each burst.
Conclusion
And there you have it – my ultimate beef chili recipe! With its hearty, flavorful, and robust taste, amplified by that special blooming spice technique, this chili is truly a game-changer. I promise that with these clear instructions and my expert tips, even beginner cooks can achieve a truly delicious, deep-flavored chili that will impress everyone at the table.
Don’t be afraid to experiment with variations – perhaps try ground chicken or ground turkey, different types of beans, or your favorite hot sauce for an extra kick. The beauty of chili is its adaptability. I encourage you to make this recipe your own, explore new serving ideas, and create lasting food memories. Print this recipe, share your creations with friends and family, and explore my other comforting recipes right here on the blog!
FAQ
Q: How do I adjust the spice level of this chili?
A: To increase the heat, you can leave some or all of the seeds and membranes in the jalapeño, or add a pinch of chili flakes or a few dashes of hot sauce during the last 15-20 minutes of simmering. To decrease the heat, simply omit the jalapeño entirely or use less chili powder.
Q: What liquid substitutes can I use if I don’t want to use beer?
A: If you prefer not to use beer, you can substitute it with an equal amount of additional beef broth or even water. The chili will still be incredibly flavorful.
Q: What’s the best way to thicken or thin out my chili?
A: To thicken your chili, simply continue to simmer uncovered for a longer period, allowing more liquid to evaporate. Alternatively, you can mix 1-2 tablespoons of cornmeal or a cornstarch slurry (1 tablespoon cornstarch mixed with 1 tablespoon cold water) into the chili and simmer for another 5-10 minutes. To thin it out, gradually add more beef broth or water until it reaches your desired consistency.
Q: Can I freeze this chili, and what’s the best way to reheat it?
A: Yes, this chili freezes beautifully! Store cooled chili in airtight, freezer-safe containers or heavy-duty freezer bags for up to 3 months. To reheat, defrost in the refrigerator overnight, then warm on the stovetop over medium-low heat, stirring occasionally, or in the microwave in short bursts until heated through.
Q: Is beef chili a healthy meal option?
A: Absolutely! This beef chili recipe is a great source of protein and fiber. You can make it even healthier by choosing extra lean ground beef, using low-sodium beef broth and canned tomatoes, and loading up on fresh vegetable toppings like green onions and avocado.
Q: What are the best toppings and sides to serve with chili?
A: My go-to toppings include shredded cheddar cheese, sour cream, fresh chopped green onions, and cilantro. For sides, warm cornbread or fluffy white rice are always excellent choices!
Q: Can you use jarred jalapeño if no fresh ones are available?
A: Yes, you can use jarred jalapeño if fresh ones aren’t available. Just be aware that jarred versions are often pickled and may have a slightly different, tangier flavor profile and varying heat. Adjust the quantity to your taste.
Q: What are chili beans and should I rinse them?
A: “Chili beans” are typically beans (often pinto beans or kidney beans) that come seasoned in a mild chili sauce. If you’re using these, you generally should *not* rinse them, as the sauce contributes to the flavor of your chili. For plain canned red kidney beans (like in this recipe), rinsing is recommended to remove excess starch and sodium.
Best Beef Chili Recipe: Deep Flavor, Easy Steps & Unique Twist
Ingredients
Equipment
Method
- In a large bowl, combine the ground beef with 1 ½ tablespoons of the chili powder. Mix well to infuse the meat with flavor.
- In a large pot or Dutch oven over medium-high heat, brown the seasoned ground beef, diced onion, diced jalapeño, and minced garlic. Work in batches if necessary to ensure proper browning. Once browned, drain any excess fat from the pot.
- Reduce the heat to medium. Add the remaining 1 tablespoon of chili powder, 1 teaspoon of cumin, and 1 tablespoon of tomato paste to the pot. Stir constantly for 2-3 minutes, allowing the spices to become wonderfully fragrant and the tomato paste to deepen in color.
- Add the crushed tomatoes, diced tomatoes with their juices, drained and rinsed red kidney beans, beef broth, beer, brown sugar (if using), salt, and black pepper to taste. Bring everything to a gentle boil, then immediately reduce heat and simmer uncovered for 45-60 minutes, allowing flavors to meld and the chili to thicken naturally.
- Once the chili has reached your desired thick and hearty consistency, ladle generous portions into bowls. Top with your favorite garnishes such as shredded cheddar cheese, fresh chopped green onions, and bright cilantro.